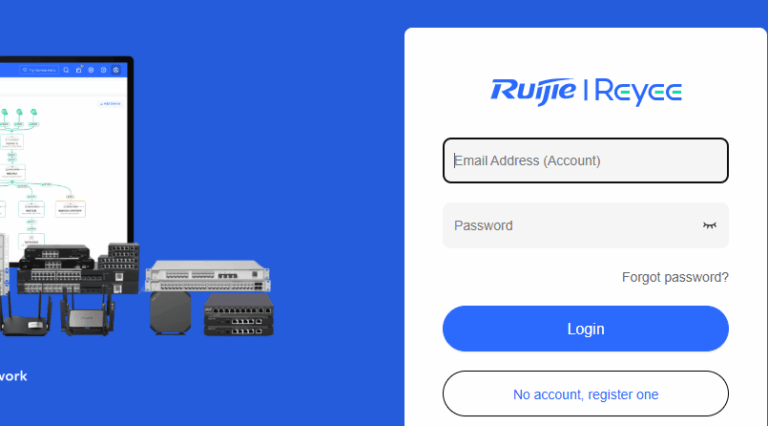
Configuring Ruijie Cloud to manage your network devices—specifically switches and access points—provides centralized control, streamlined configuration, and real-time monitoring. In your setup, you’ll assign 3 APs to Switch‑01 and another 3 to Switch‑02, each managed via Ruijie Cloud.
Table of Contents
🔧 Configuration Steps
This guide covers account setup, device onboarding, grouping, VLAN/SSID mapping, and policy enforcement for efficient WLAN/switch coordination.
1. Set Up Ruijie Cloud Account & Project
- Go to cloud‑as.ruijienetworks.com, create an account & log in.
- Under Configuration, click Add Project, enter your network/site name and timezone to begin configuring Ruijie Cloud.
- Choose scenario type (e.g., Campus/Wi‑Fi + Switch), then save.
- Configuration Wi-Fi SSID and Password
Now, please follow the screenshot below clearly to follow up with us. When you created an account with Ruijie Cloud. Log in, and go to the Project, click on Add.


After clicking on Next, you need to select which types of devices you want to add to monitoring. Type in the text box and click on Next.

Then, it will pop up a new tab to assign the WiFi name SSID, and Password. Enter your WiFi name and password by selecting strong encryption, enter the password, and click on OK.

Below is the WiFi that you just created. When you add any Ruijie AP WiFi to this cloud, you can use this SSID and password.

2. Add Gateway/Switches
- Connect each switch to the internet-connected gateway (EG or equivalent).
- Access each switch through local CLI/web interface to configure:
Switch(config)# cwmp Switch(config-cwmp)# acs url http://devicereg.ruijienetworks.com/service/tr069servlet - In Ruijie Cloud, open the project. Then, go to Add Device → Switch. Input the serial number. Wait 3–5 minutes for the switch to show online.
Note: I show only how to add a Switch to the cloud by going to Devices => Switch => Add

Then enter the Serial Number of your Ruijie Switch at 1 SN: (…) and Alias: Switch-01 (name of your switch). Then click on Finish. Your switch is added to Ruijie Cloud. If your network line connects well, it will be online in a few minutes. To get the SN of your Ruijie Switch, you can check on the device next to the QR code.

3. Add Access Points
- Connect each AP via PoE to its assigned switch (3 on Switch‑01, 3 on Switch‑02).
- Ruijie APs auto-provision through CWMP once online.
- In the project, click Add Device → AP. Then, scan the QR code or enter the SN manually. These steps configure Ruijie Cloud settings.
- Confirm all devices are Online & Synced.
Connect each AP via PoE to its assigned switch (Note: your switch also has PoE support)

Then log in to your Ruijie cloud and follow the steps. In the project, click Add Device → AP. Next, scan the QR code. Alternatively, you can enter the SN manually to configure Ruijie Cloud settings.

After clicking on Add, a tab will pop up. You need to enter the SN of the AP. Then, enter the Name of your AP location. Finally, click on Finish.

Below are the APs that I have added to the Ruijie Cloud controller. It is done.

4. Organize Groups & Assign APs
- Navigate to Configuration → Groups.
- Create two AP groups: Group A (for Switch‑01) and Group B (for Switch‑02).
- Drag each AP into the appropriate group. You can add sub‑groups if needed while configuring Ruijie Cloud.
5. Configure VLANs and SSIDs
- Under each group: Go to Wireless → Basic.
- Add SSIDs (e.g.,
Corp_AP1) and assign VLAN IDs according to the backend network. - Ensure uplink interfaces on switches are set to trunk with VLANs used by APs (e.g., VLAN 10 for Group‑A, VLAN 20 for Group‑B) as you configure Ruijie Cloud.
6. Switch Port & VLAN Configuration
- On each switch in Cloud: set access ports (for APs) to the untagged VLAN of its group.
- Configure the uplink port as a trunk carrying all VLANs (1, 10, 20…).
7. Apply & Verify
- Save and push the configuration.
- In Cloud → Dashboard, check device statuses.
- Test client devices: Should connect to the correct SSID and receive IP from the proper VLAN.
- Troubleshoot using switch/AP logs, ping cloud, and verify CWMP connectivity while configuring Ruijie Cloud network solutions.
✅ Conclusion
By configuring Ruijie Cloud, you’ve established centralized control over your switches and APs. This enables scalable group management. It also allows VLAN-based SSID deployment and secure device monitoring. This setup offers effortless policy propagation and visibility—whether troubleshooting firmware, VLAN mismatches, or client connectivity. If your plan grows, simply add new switches or AP groups in Cloud. Let me know if you’d like assistance with VLAN planning or Wi‑Fi tuning!


3 Comments
ot8ozb
y1nimn
z2qde5